remote
remote
remote is used to send a command to the communication driver. Users can control the device or write the value by using a remote object.
Methods
Return Type |
Method |
Description |
Execute the analog poll command to devices. (HMI only) |
||
str |
connectedHost( device ) |
Return the IP of connected devices. (TCP/IP server only) |
Execute the integrity poll command to devices. (HMI only) |
||
It is used to write values on the device. (HMI only) |
||
boolean |
It is used to send driver commands. |
|
boolean |
Write the value of analog points simultaneously. (HMI only) |
|
boolean |
Write the value of status points simultaneously. (Server only) |
|
boolean |
Write the value on the output address of the device set on point 'name'. (HMI only) |
|
boolean |
Write the value on the output address of the device set on point 'name'. (Server only) |
|
boolean |
Write the value on the output address of the device set on point 'name', after user confirm is done. (HMI only) |
|
boolean |
Write the value on the output address of the device set on point 'name'. (HMI only) |
|
Write the value on the output address of the device set on point 'name'. (Server only) |
||
Execute the status poll command to devices. (HMI only) |
||
Execute the time synchronization command to devices. (HMI only) |
||
Invert the current value and write it on devices. (HMI only) |
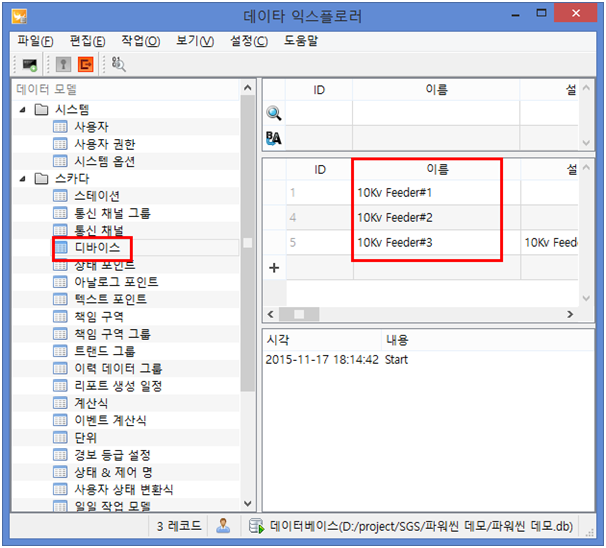
Poll all analog data belong to that device. ㆍ Enter the name of devices registered on Data Explorer to rtuName. (HMI only) Example)
remote.analogPoll('10Kv Feeder#1'); << Poll all analog data belong to 10Kv Feeder#1.
|
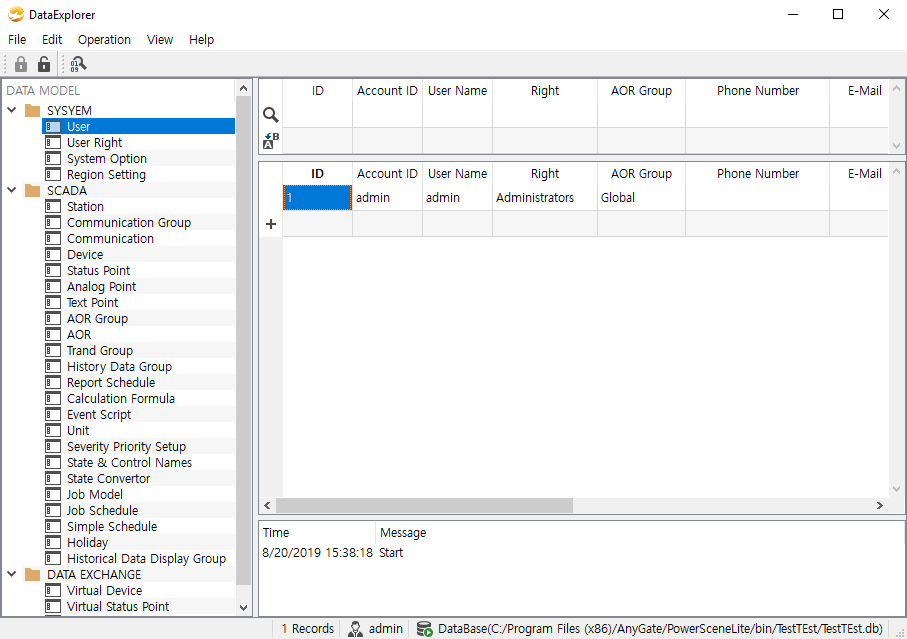
The following is the device window of Data Explorer. |
|
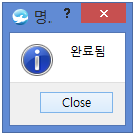
ㆍ When the control succeeds, print a message about completion. |
<Success> |
|
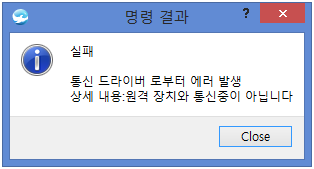
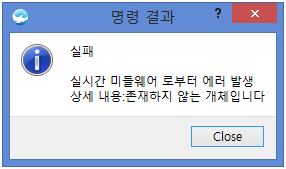
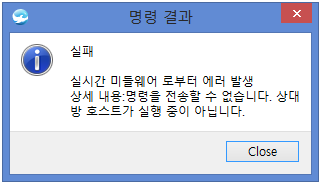
ㆍ When the control fails, print a message about failure. |
<Device is not connected> |
<Device is not existing> |
<PowerScene driver is not running> |
|
Return the IP of connected devices (TCP/IP only) Example)
deviceAddress = remote.connectedHost('LP-1 RTU') << Return the IP of 'LP-1 RTU'
|
Poll all data belongs to that device. ㆍ Enter the name of devices registered on Data Explorer to tuName. Example)
remote.integrityPoll('10Kv Feeder#1'); << Poll all data belong to '10Kv Feeder#1'.
|
The following is the device window of Data Explorer. |
|
ㆍ When the control succeeds, print a message about completion. |
<Success> |
|
ㆍ When the control fails, print a message about failure. |
<Device is not connected> |
<Device is not existing> |
<PowerScene driver is not running> |
|
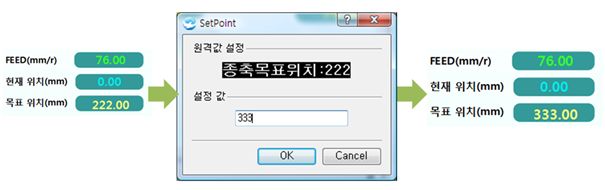
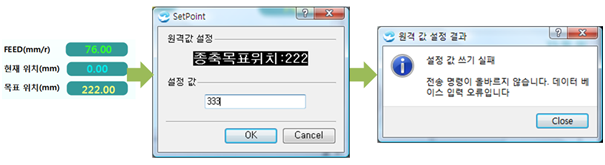

setValue is used to write the value of points to devices. Without other processes, it sends the control command when executing the script. ㆍ Enter the name of points to be set to name. ㆍ Enter The value of points to value. ㆍ (HMI only) Example)
remote.setValue('PLC.START', 0); << Set the value of 'PLC.START' as 0.
|
The following is an example of a success message printing on the alarm window. |
|
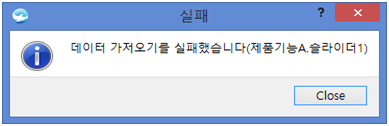
The following is an example of a message according to control failure. |
|
ㆍ Do not print a message based on control success. ㆍ Print a message about control failure. (Print the reason for failure) |
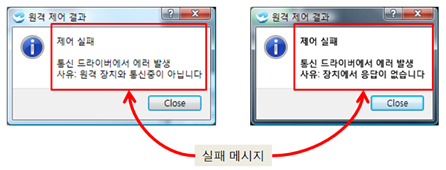
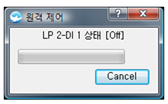
The following is an example of a control progress screen. |
|
Control progress screen is a screen that occurs when control exists in the remote object used commands. If the transmission is fast, it is invisible to users. if not, the screen is visible. |
ㆍ Control – Control progress screen – Success ㆍ Control – Control progress screen – Failure |

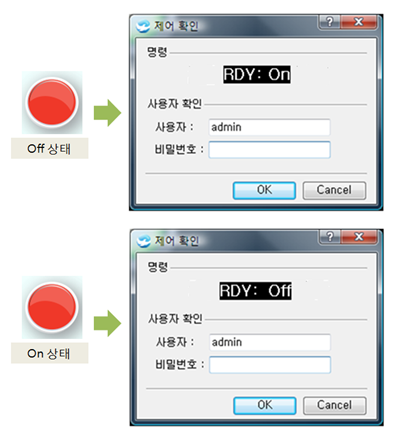
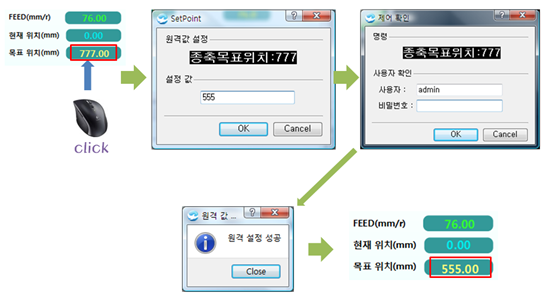
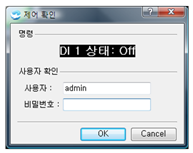
setValueConfirm is used to write the value of points to drivers. ㆍ setValueConfirm differs from setValue. Before sending the value, it validates user ID and password then progress. ㆍ (HMI only) Example)
remote.setValueConfirm('LP 2.DI 1', 0); << Set the value of 'LP 2.DI 1' as 0
|
The following is an example of control success after the user confirm. |
|
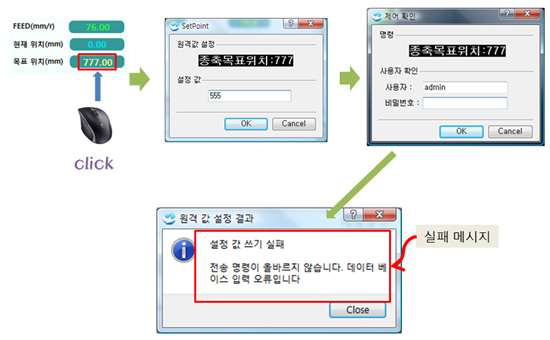
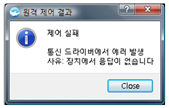
The following is an example of control failure after the user confirm |
|
ㆍ setValueConfirm differs from setValue. It re-verifies control through the control confirm box. ㆍ setValueConfirm prints a control success box when succeeded controlling. ㆍ Print the reason for failure when failed to control. |


Poll all status data belong to that device. ㆍ Enter the name of devices registered on Data Explorer to rtuName. (HMI only) Example)
remote.statusPoll('10Kv Feeder#1'); << Poll all status data belong to 10Kv Feeder#1. |
The following is the device window of Data Explorer. |
|
ㆍ When control succeeds, print a message about completion. |
<Success> |
|
ㆍ When control fails, print a message about failure. |
<Device is not connected> |
<Device is not existing> |
<PowerScene driver is not running> |
|
Synchronize the time of that device to match the time of PC running the PowerScene driver monitor. (HMI only) Example)
remote.timeSyncCmd('10Kv Feeder#1'); << Synchronize the time of 10Kv Feeder#1 to match the time of PC.
|
The following is the device window of Data Explorer. |
|
ㆍ When the control succeeds, print a message about completion. |
<Success> |
|
ㆍ When the control fails print a message about failure. |
<Device is not connected> |
<Device is not existing> |
<PowerScene driver is not running> |
|
Provide a toggle function(Like an on/off button) on point 'name'. (HMI only) ㆍ If confirm is 0, do not open the user confirm screen, if it is 1, open the screen. ㆍ toggles are available for status points. Example)
remote.toggle('Point name', 0); << User authentication is unverified. remote.toggle('Point name', 1); << User autentication is verified.
|
The following is the toggle setting. |
|